Once you have a recipe set a timetable and start your yeast.

These are the items necessary for making a yeast starter. Clockwise from 3pm. Erlenmeyer Flask, liquid yeast, yeast nutrient, digital scale, flexible temperature strip, DME (dried malt extract), 2 gallon bucket and boiling water (electric teapot).

Use Mr. Malty's Yeast Pitching Rate Calculator found at www.mrmalty.com to determine how big of a yeast starter you need. In this case I need 1,600ml. Measure 1,600ml of distilled water into your flask, pour it into your teapot and boil it.

Measure 160g of light DME. Notice the connection between volume and weight. 1,600ml to 160g. This produces a starter with a gravity of about 1.040, perfect for propagating yeast. This ratio holds true regardless of size. 1,500ml to 150g. Or 1,000ml to 100g. You get the idea. Be sure to add 1/8 tsp of yeast nutrient to this bowl.

Make sure to store your DME in a tightly sealed bag.

Here I am boiling my water which I will mix with the DME in a Pyrex bowl.

Start off with about 2/3 of your water in a Pyrex bowl then add DME and mix (don't add all of the water at this time. A wire whisk is the way to go to mix your boiling water and DME together. Super easy, no clumps. I like the 2 quart Pyrex because it is big enough for what I need, is heat resistant (won't break when you dump boiling water into it, however I do warm it with hot water just to be sure) and you can pour out of it easily.
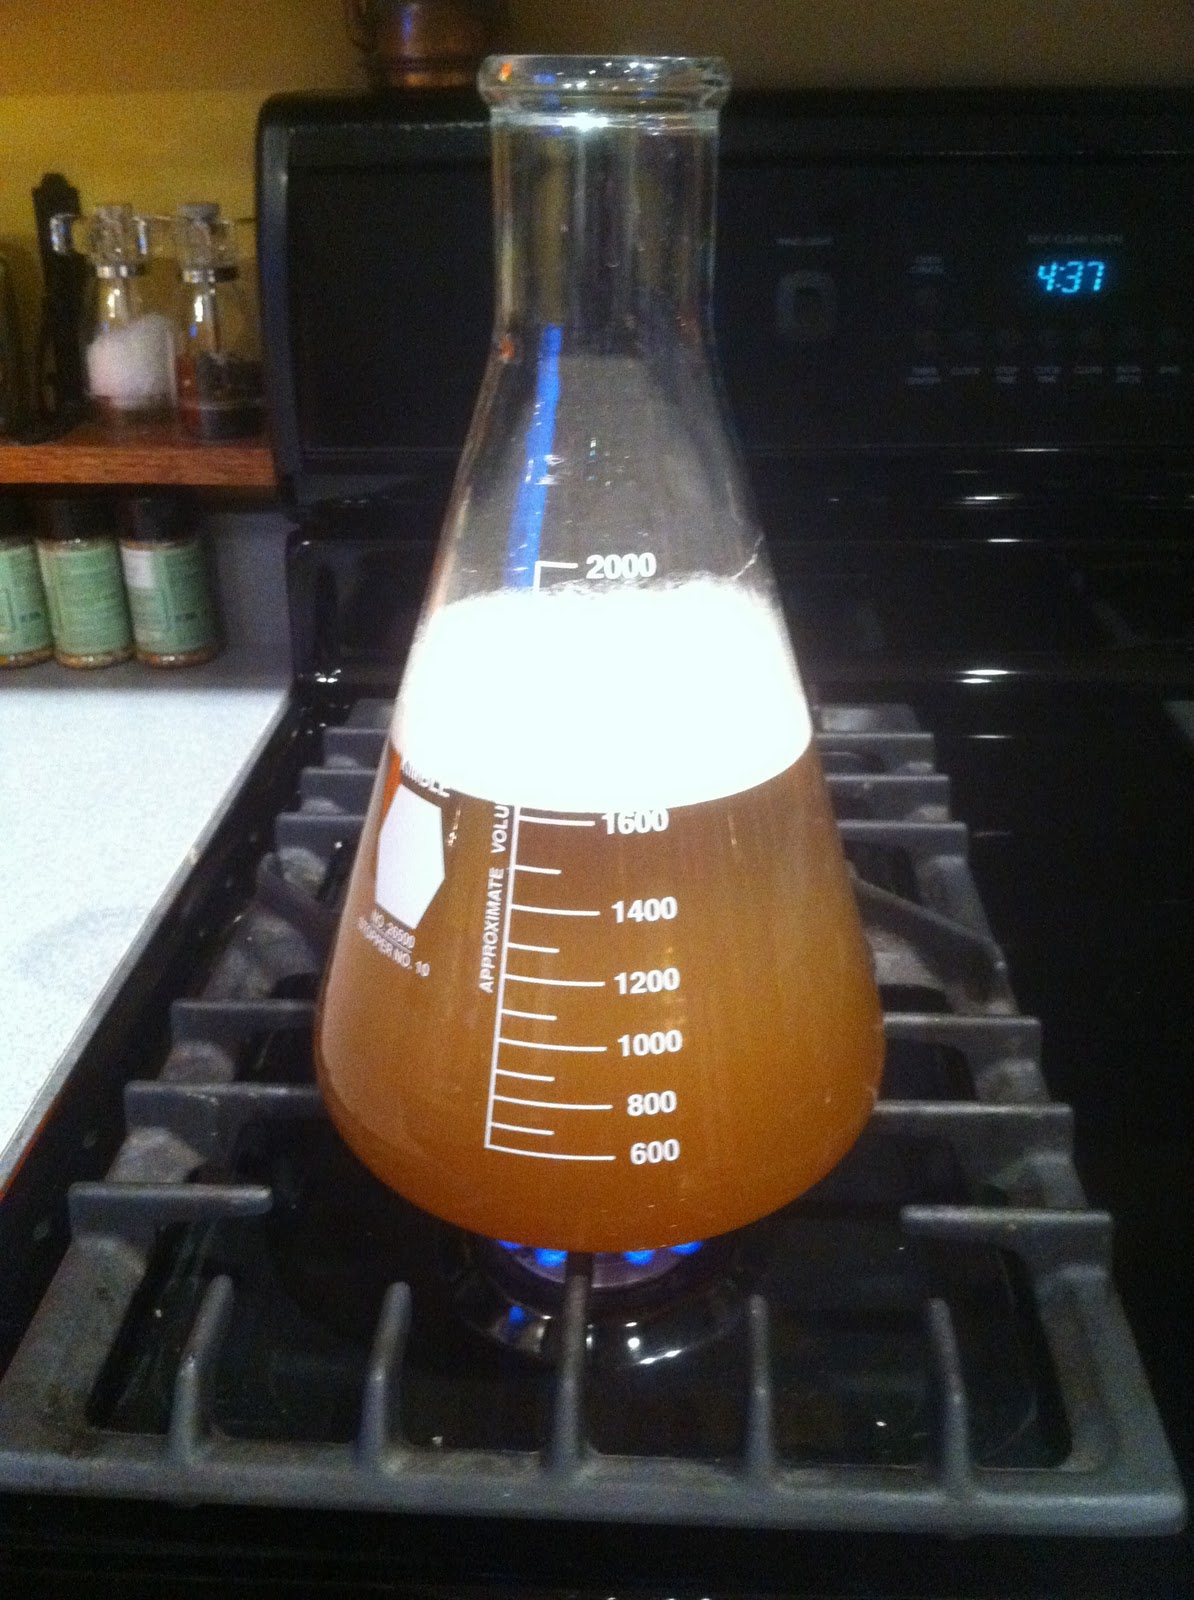
Next add this mixture to your flask (I also pre-heat the flask) and then top off with water to your mark (1,600ml). You should have a little water left over. Boil for 10 minutes, remove from heat and cover with tin foil.

Chill your starter. I start off with 1/2" warm water in a 2 gallon bucket, place the flask in the warm water and slowly add cold water. These flasks can handle a fair amount of temperature shock but I prefer to start off slow. When adding water to the bucket be sure to stay at or below the level of liquid in the flask. Every couple of minutes change the water. After the first one you can switch to all cold water. The cooling process can be greatly accelerated by swirling the flask in the bucket. I like the 2 gallon bucket (Home Depot, paint department, $3.48) because you will waste very little water with it. After 4-6 water changes I will add a bunch of ice and let it sit for about 30 min.

While the starter is on ice I will sanitize my stir bar and the tube of yeast. It is pure foolishness to use anything other than 5 Star "Saniclean" or 5 Star "Star San" as your sanitizer. Star San will foam a lot Saniclean will not. They are both acid anionics and if you mix per the label you do not have to rinse. I like to take a Sharpie and write down the ratio for small batches right on the bottle.

After about 30 min. on ice I will dry the flask and tape an LCD thermometer strip onto the side to check the temp. Be sure to swirl the flask to ensure even temperature. If it is still too hot it goes back on ice, too cold and it goes back on the stove (no more than 30 seconds at a time). Once you have the correct temperature (68F in this example) add your stir bar and yeast, a clean piece of tin foil and put it on a stir plate.

Life on a stir plate. Either make one like I did or buy one for $50 - $100. There are lots of instructions online for making your own. Just Google "homemade stir plate" and have at it. Be aware that the stir plate plus the yeasts own reproductive activity will add about 5 degrees of heat. Don't put this thing in your attic or freezer. If your target temp is 68 put it somewhere 63 and monitor it so that it stays right around 68. Move it if necessary. My Minnesota basement seems to be about right most of the year. After 48 hours on a stir plate you can put your yeast in the fridge. If I'm brewing the next day I'll leave the tin foil on otherwise if it's more than that I will put on an airlock and stopper.